
Create personalized content with HubSpot
The Storied Cloud provides a mechanism for integrating your Storied content with HubSpot contacts, enabling users to:
- include Storied content in HubSpot email marketing campaign
- show HubSpot contact name in Storied content
- track the activity of each visitor in Storied Activity panel
Install:
- Log into Storied Cloud
- Navigate to Account Settings > Integrations
-
Locate the HubSpot card
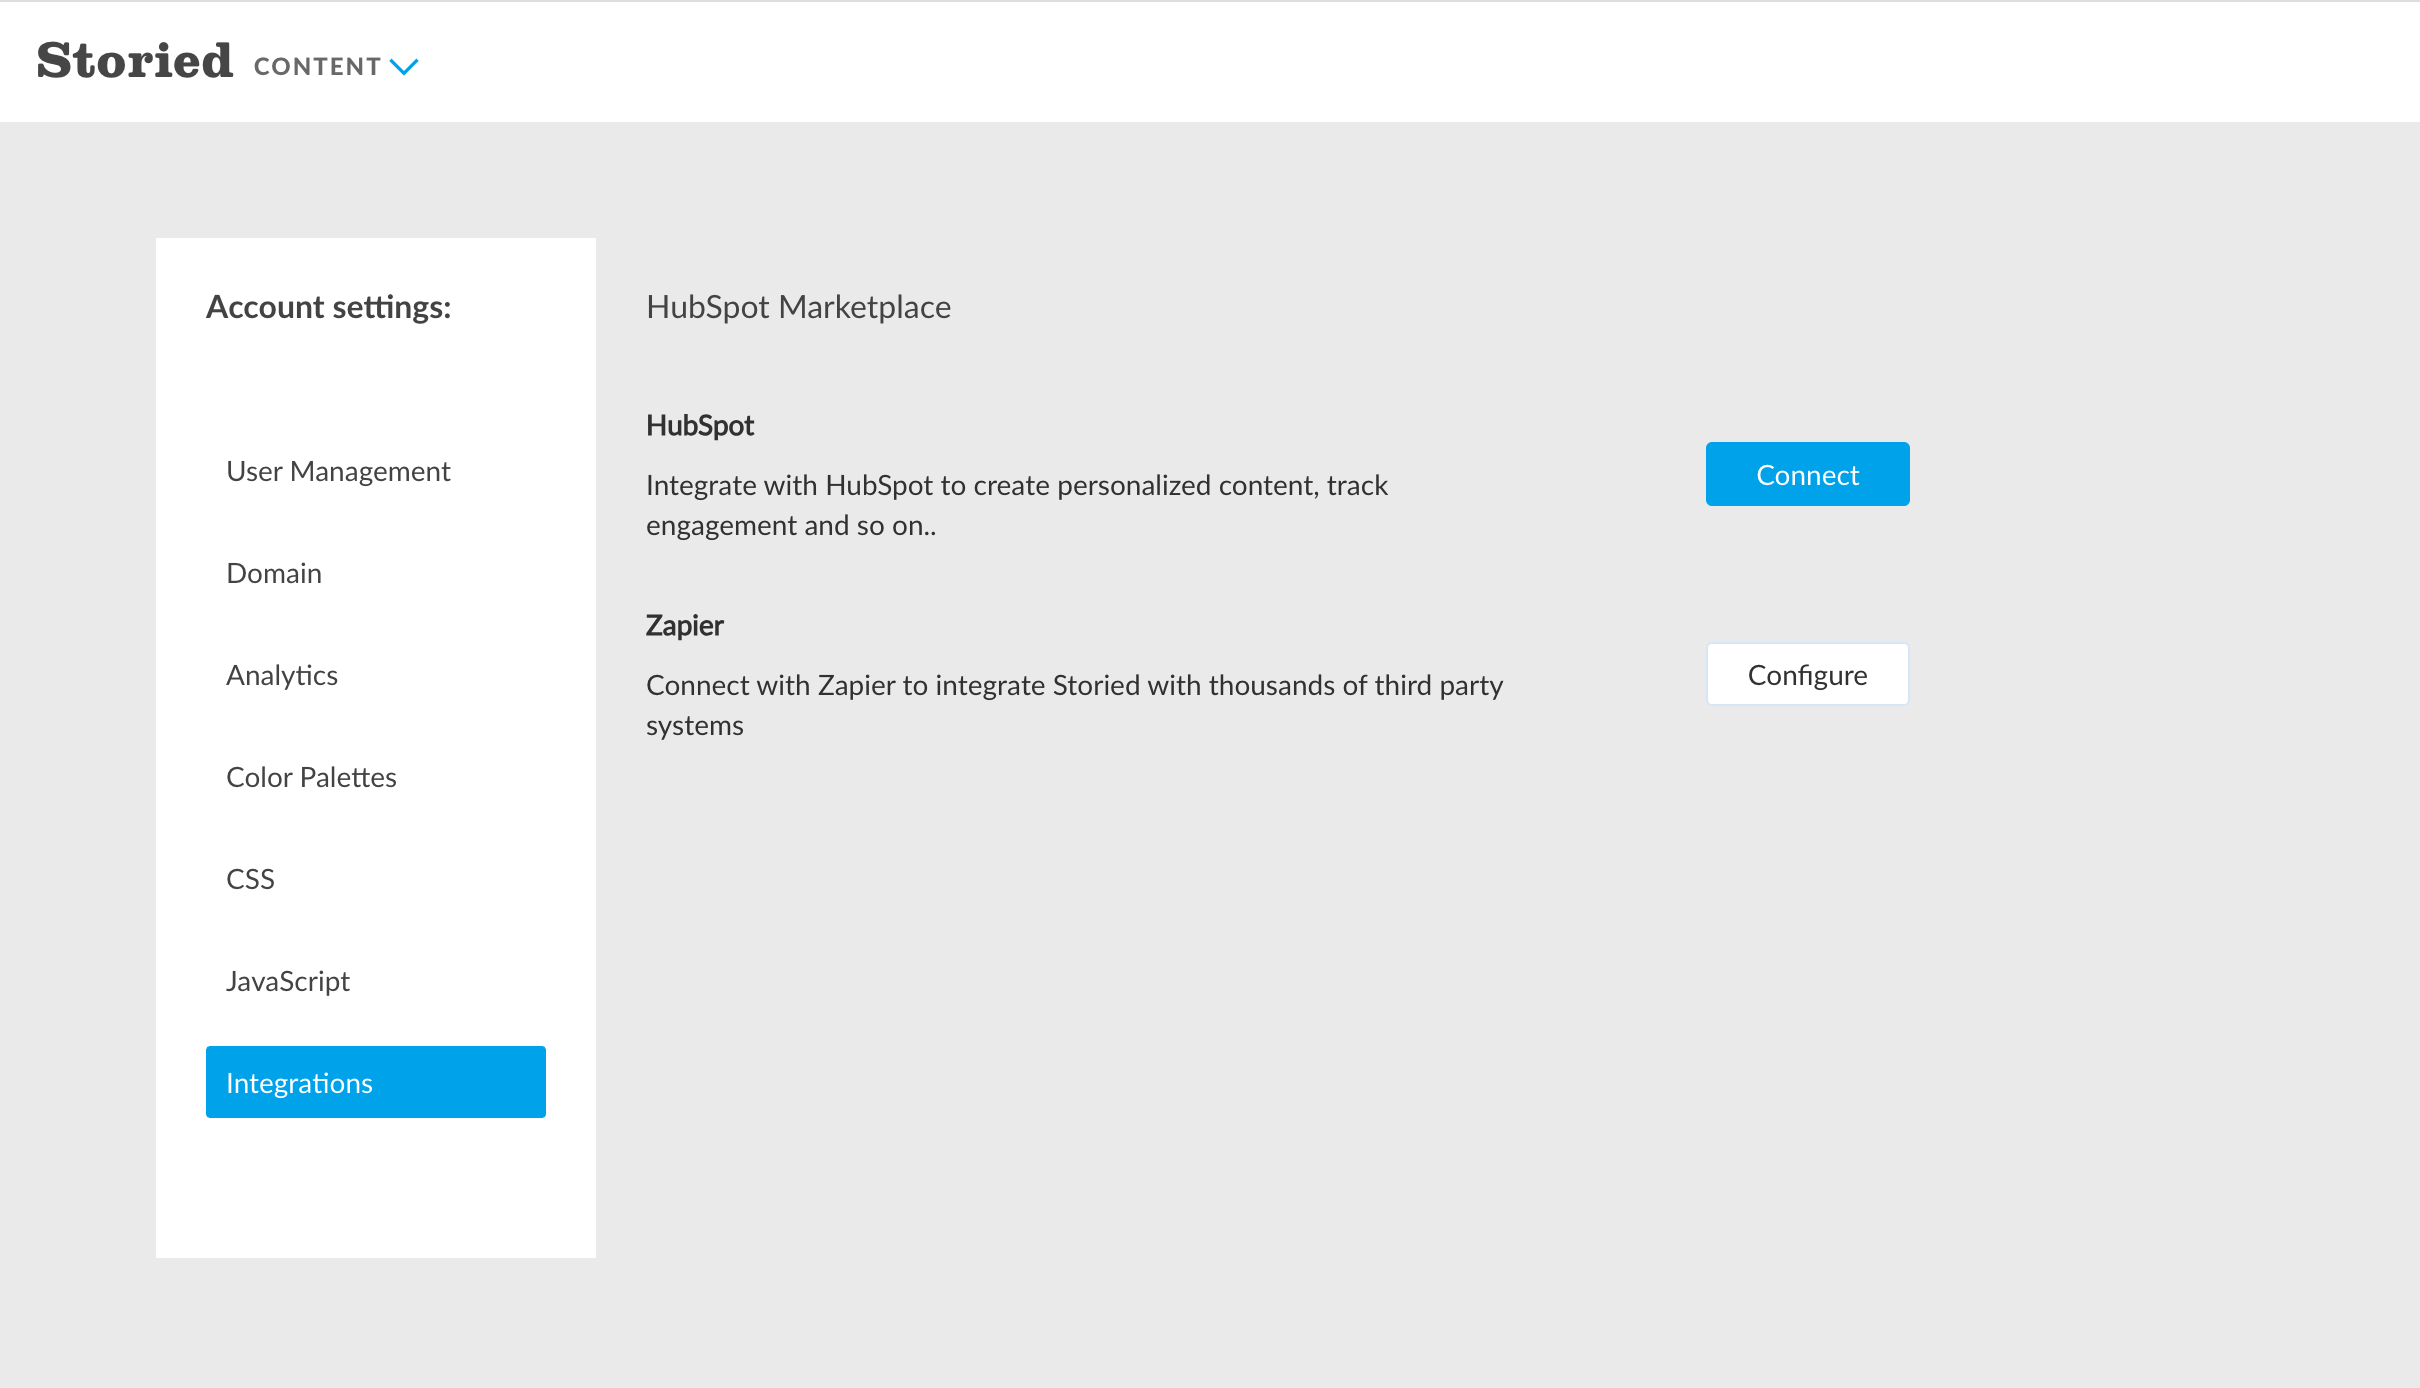
- Click Connect
- Select your HubSpot account
-
Click Choose Account

- Review the requested scopes on this screen. Storied Studio requests access to read to contacts.
- Click Connect app
- You will be redirected to the Storied Cloud "Integrations" page, where new configuration options appear. See the next section.


Configure:
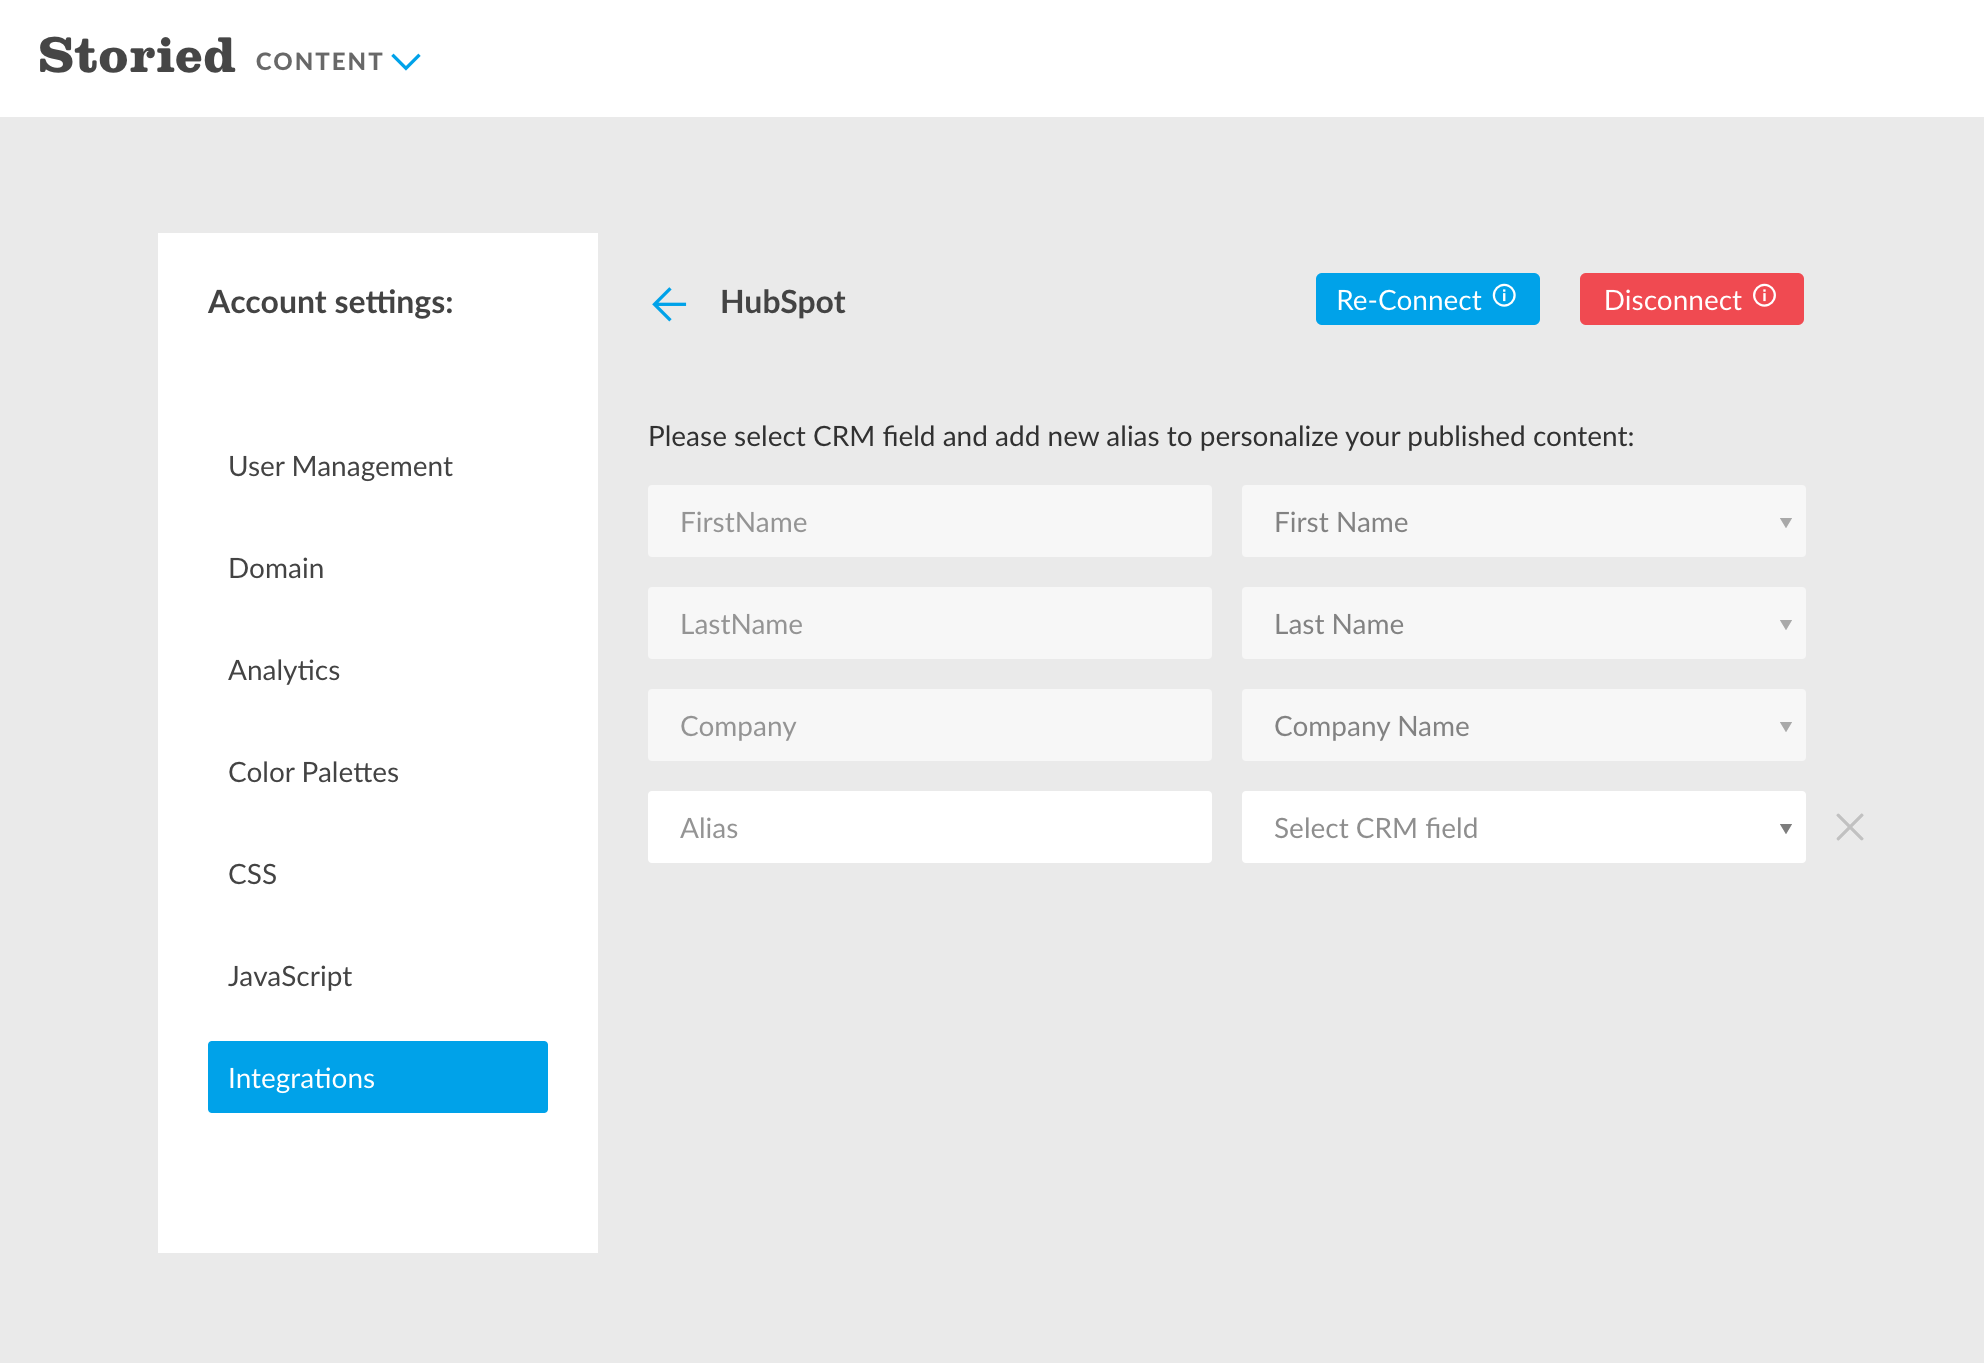
By default, Storied Cloud uses three HubSpot contacts properties (Storied Aliases):
- FirstName
- LastName
- Company
Optionally, you can add other Storied Aliases in your Storied Cloud account > Account Settings > Integrations > HubSpot:
- Enter the name in the Alias input
-
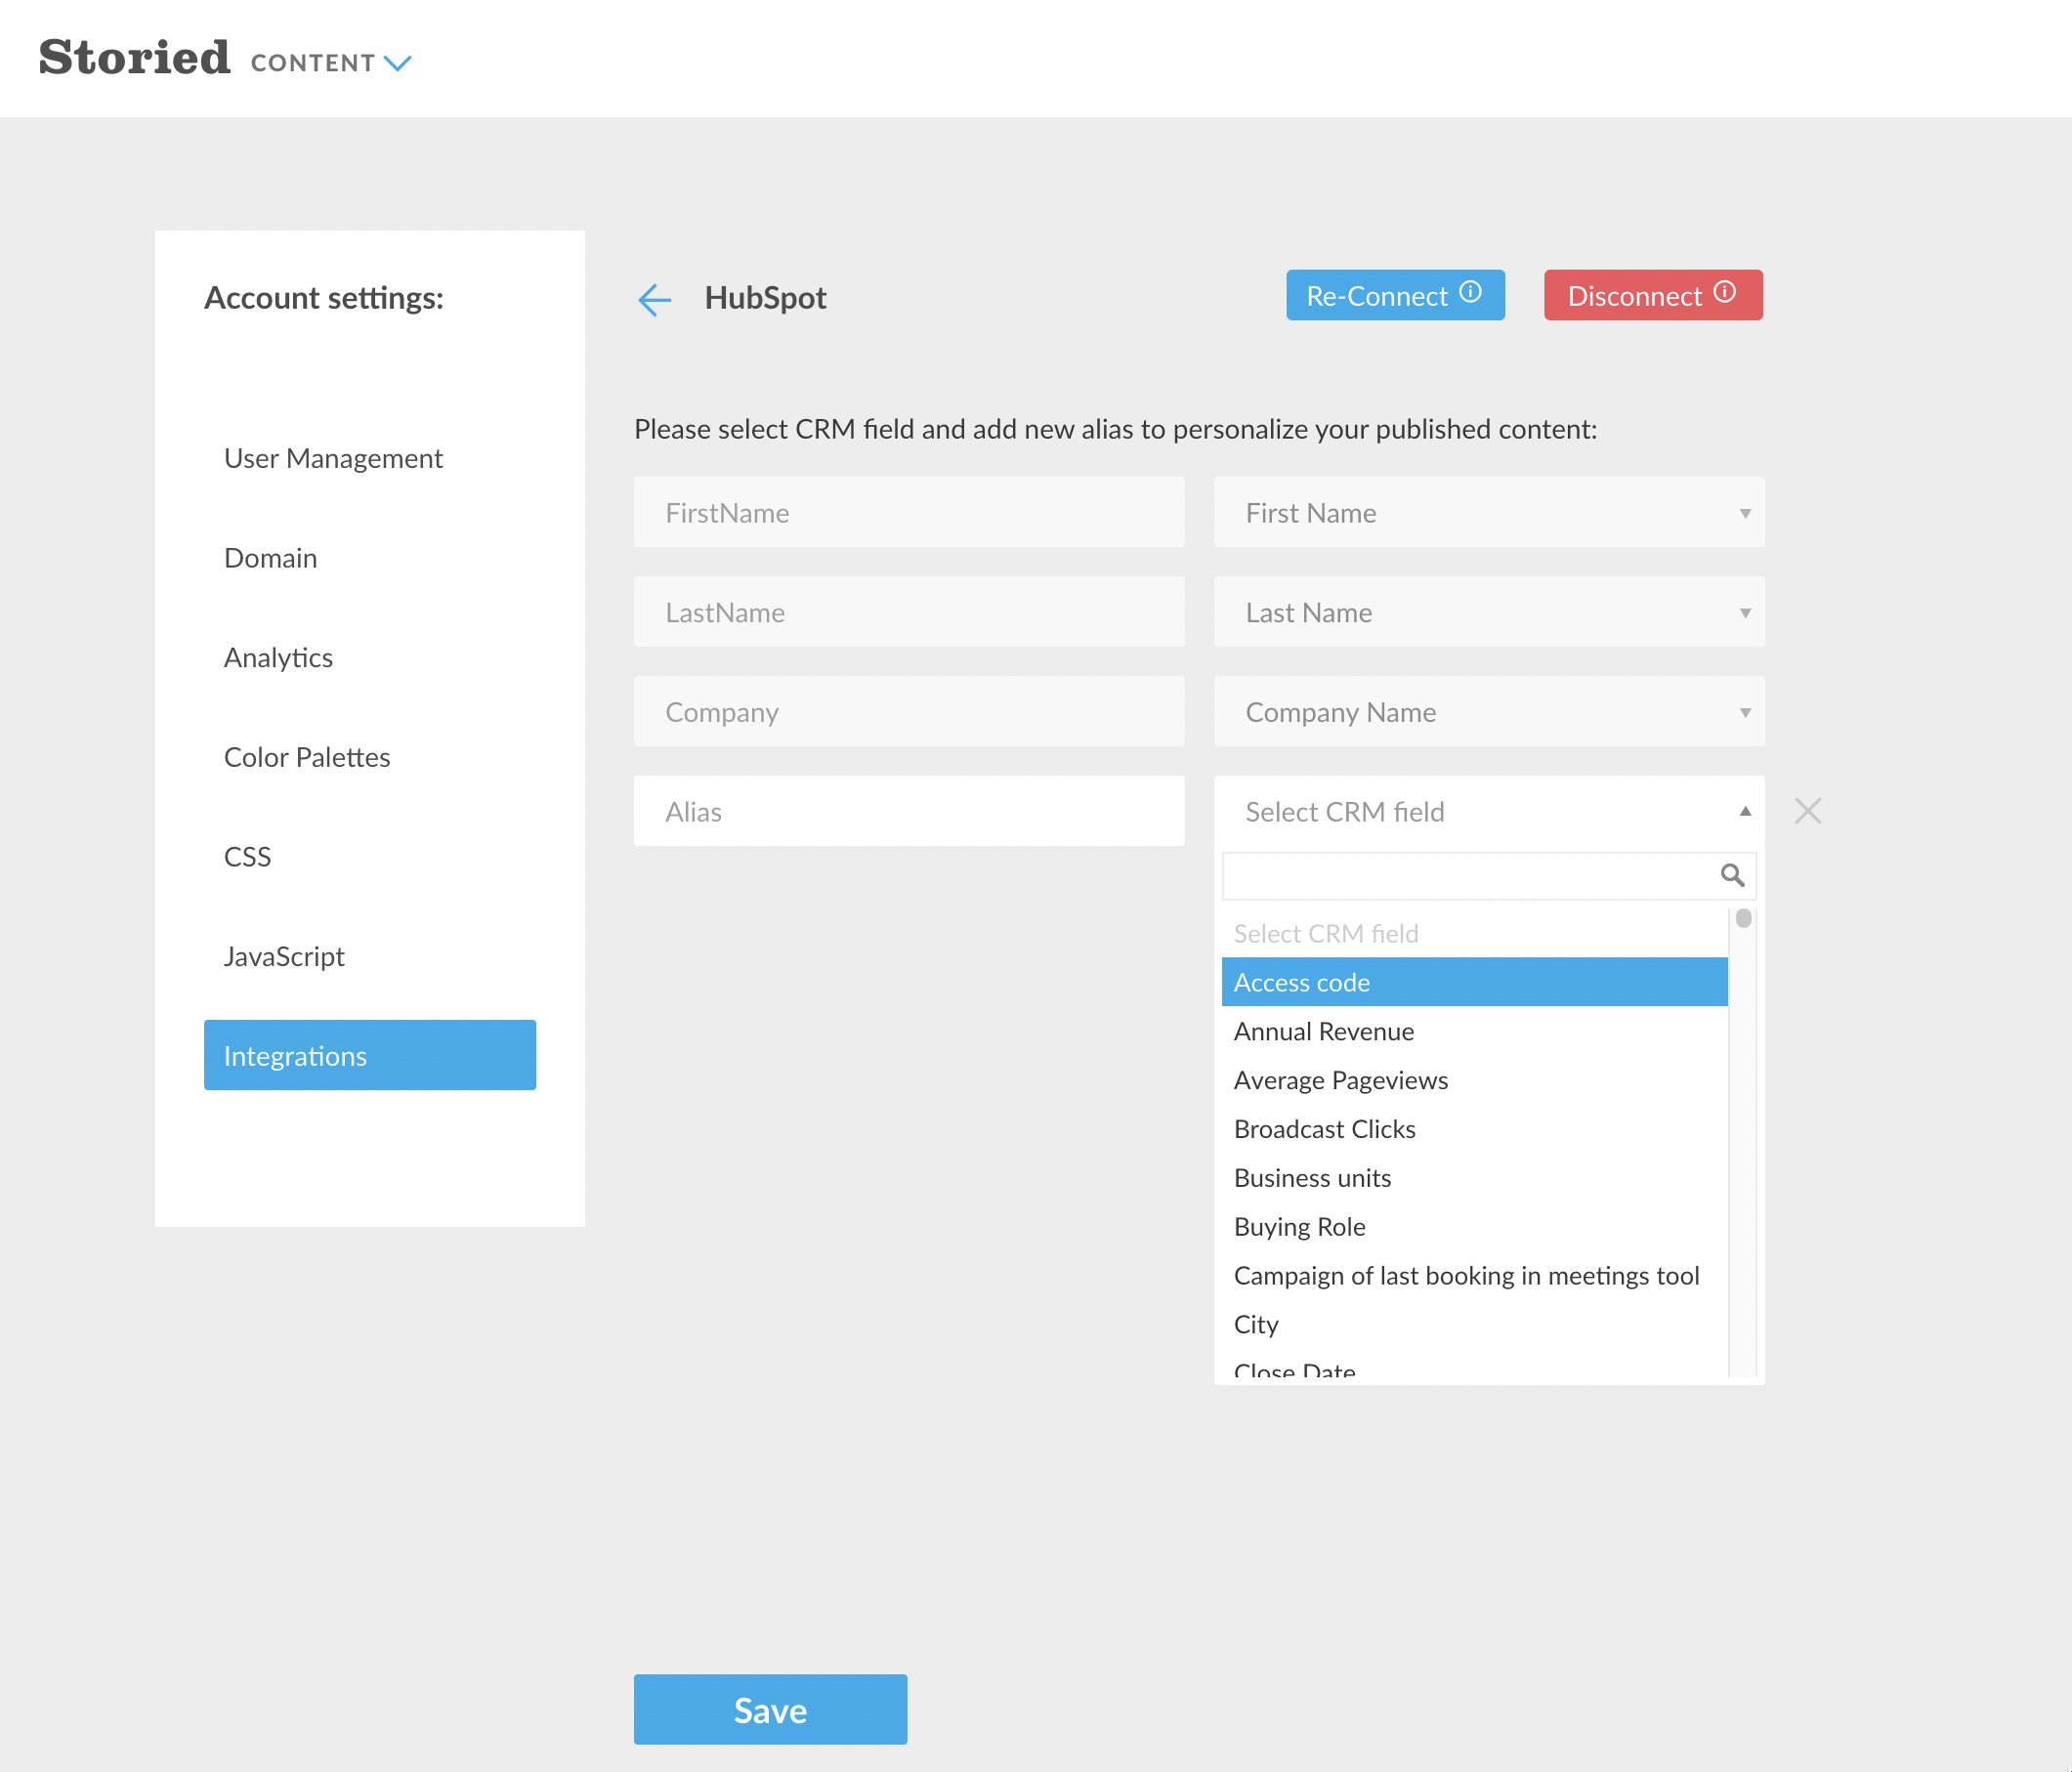
Select the HubSpot contact property in the "Select CRM field" dropdown
- Click Save to map your HubSpot contact property and Storied Alias field

You can add these HubSpot contacts properties (Storied Aliases) into Storied Content:
- Create a new project or open an existing project
- Open any page where HubSpot contact info should be available
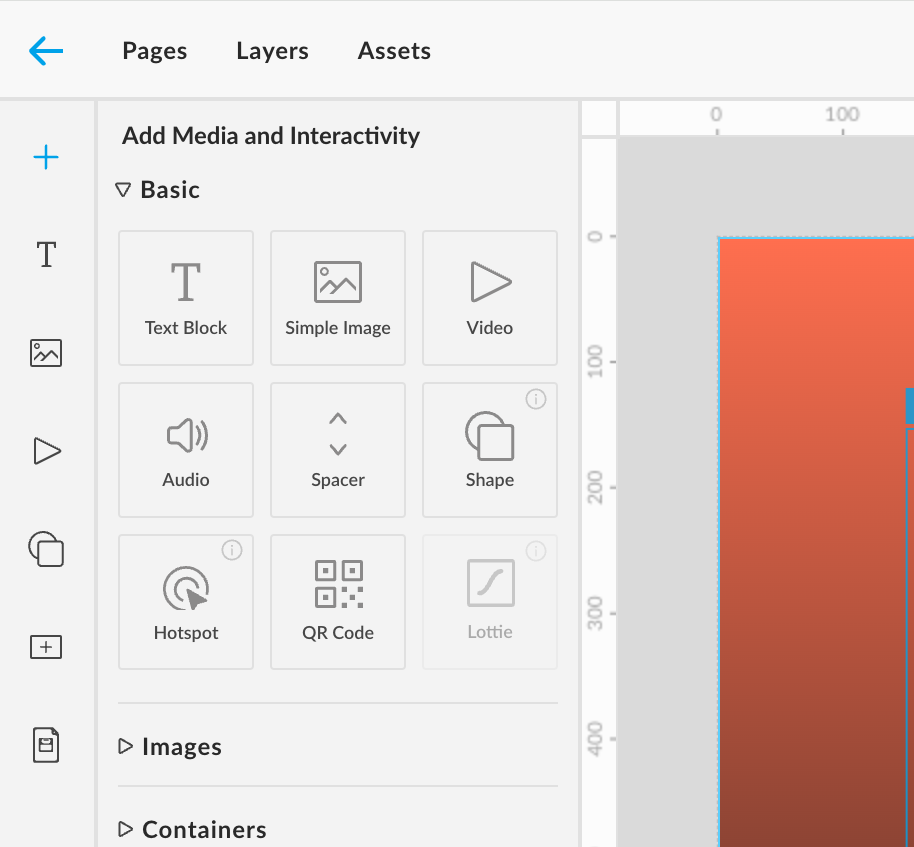
-
Create a new text widget via the left sidebar
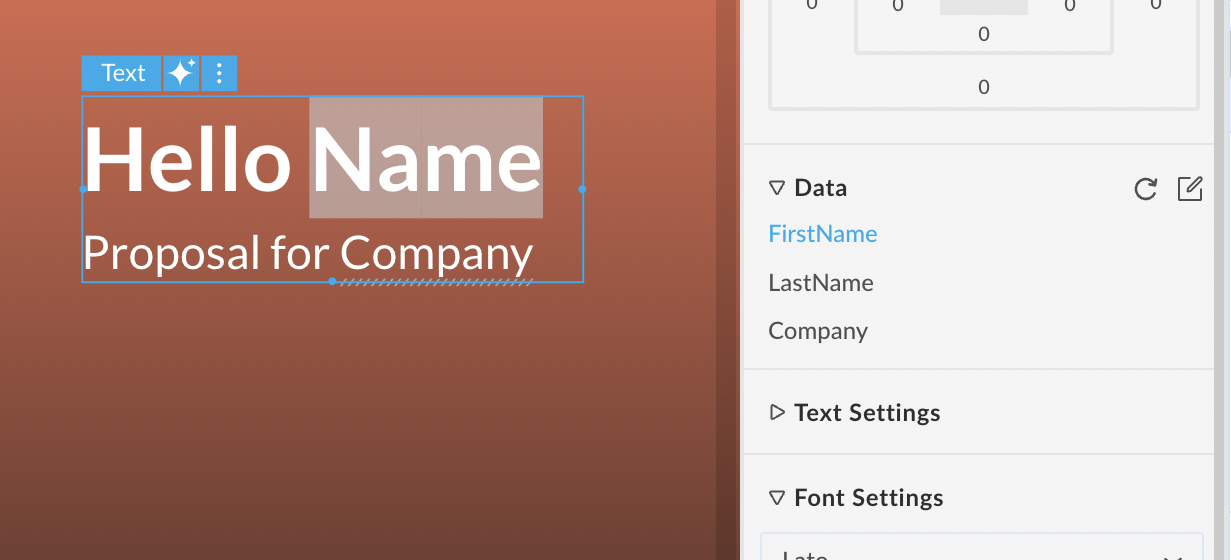
- Select part of the text and expand the Data block in the right sidebar
-
Select one of the Storied Aliases in the Data block


Use:
Storied Studio automatically requests your HubSpot contact and company info according to your configured settings (see "Configure" section above) when visitors open your published Storied Content.
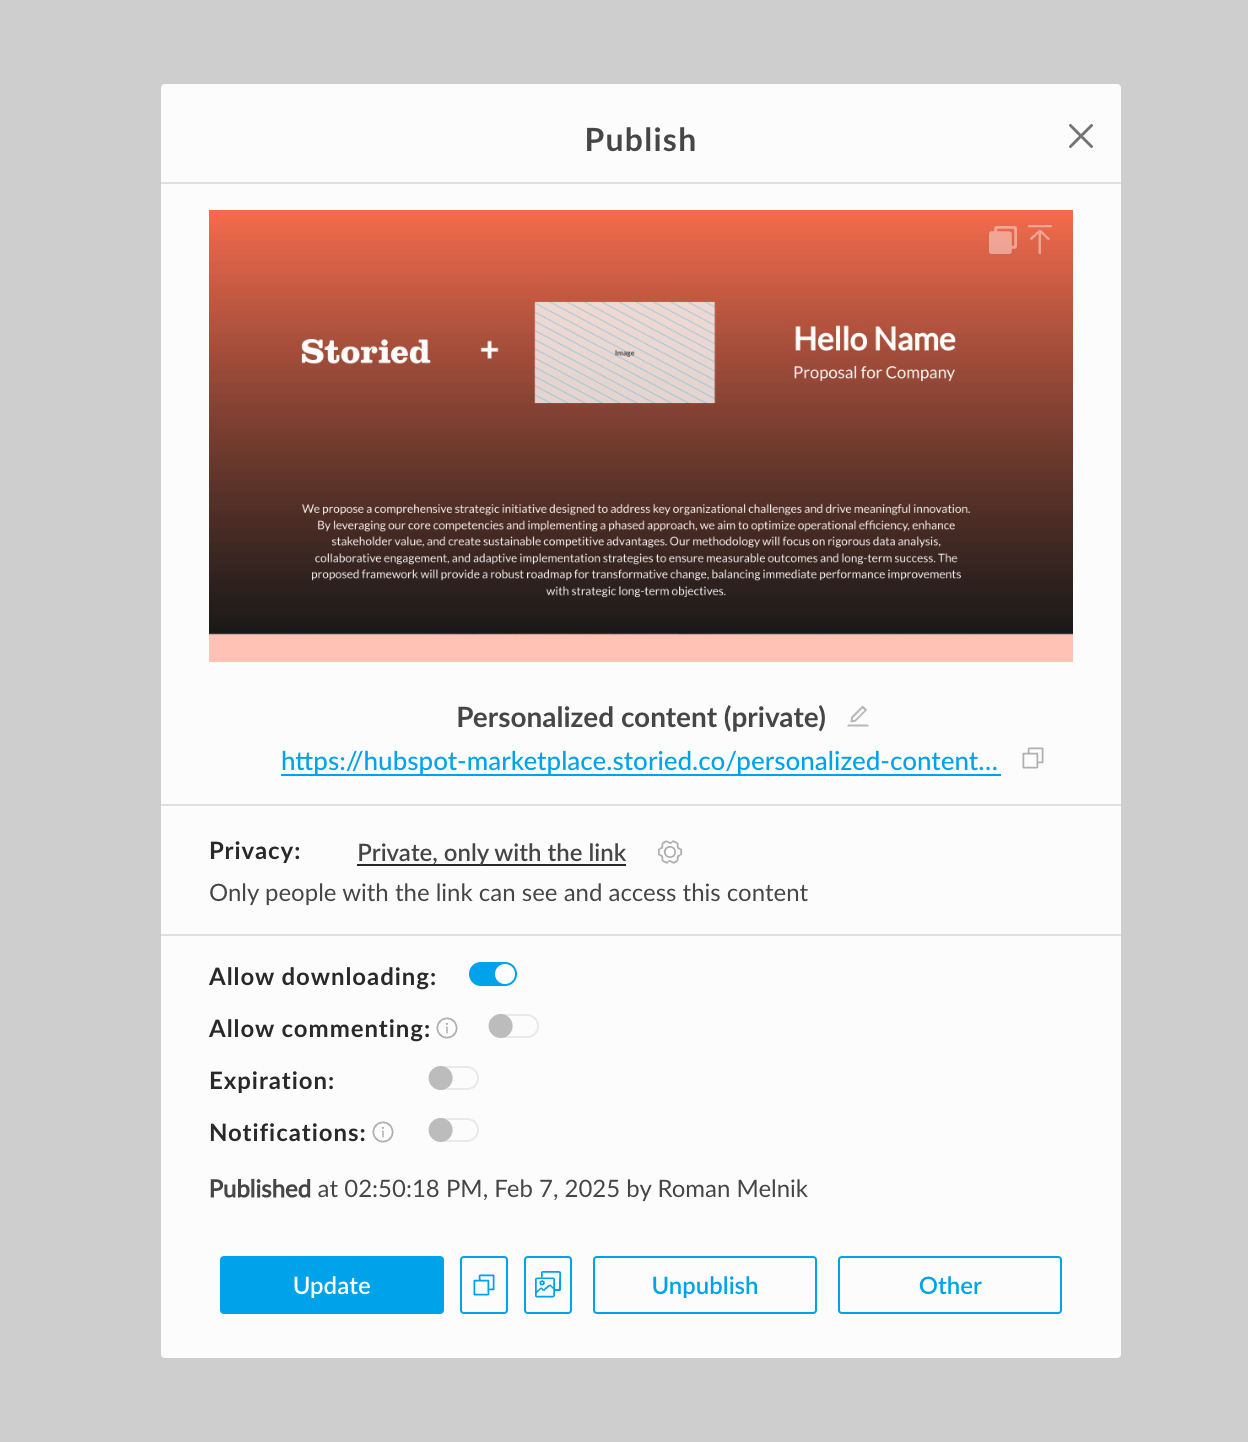
Use-case 1 - Storied Content (protected via email)
-
Open Publish popup and publish Storied Content with Private privacy
- Copy and open the published URL
- Enter any existing HubSpot contact email
- Storied Studio requests your HubSpot contact based on the filled email address.

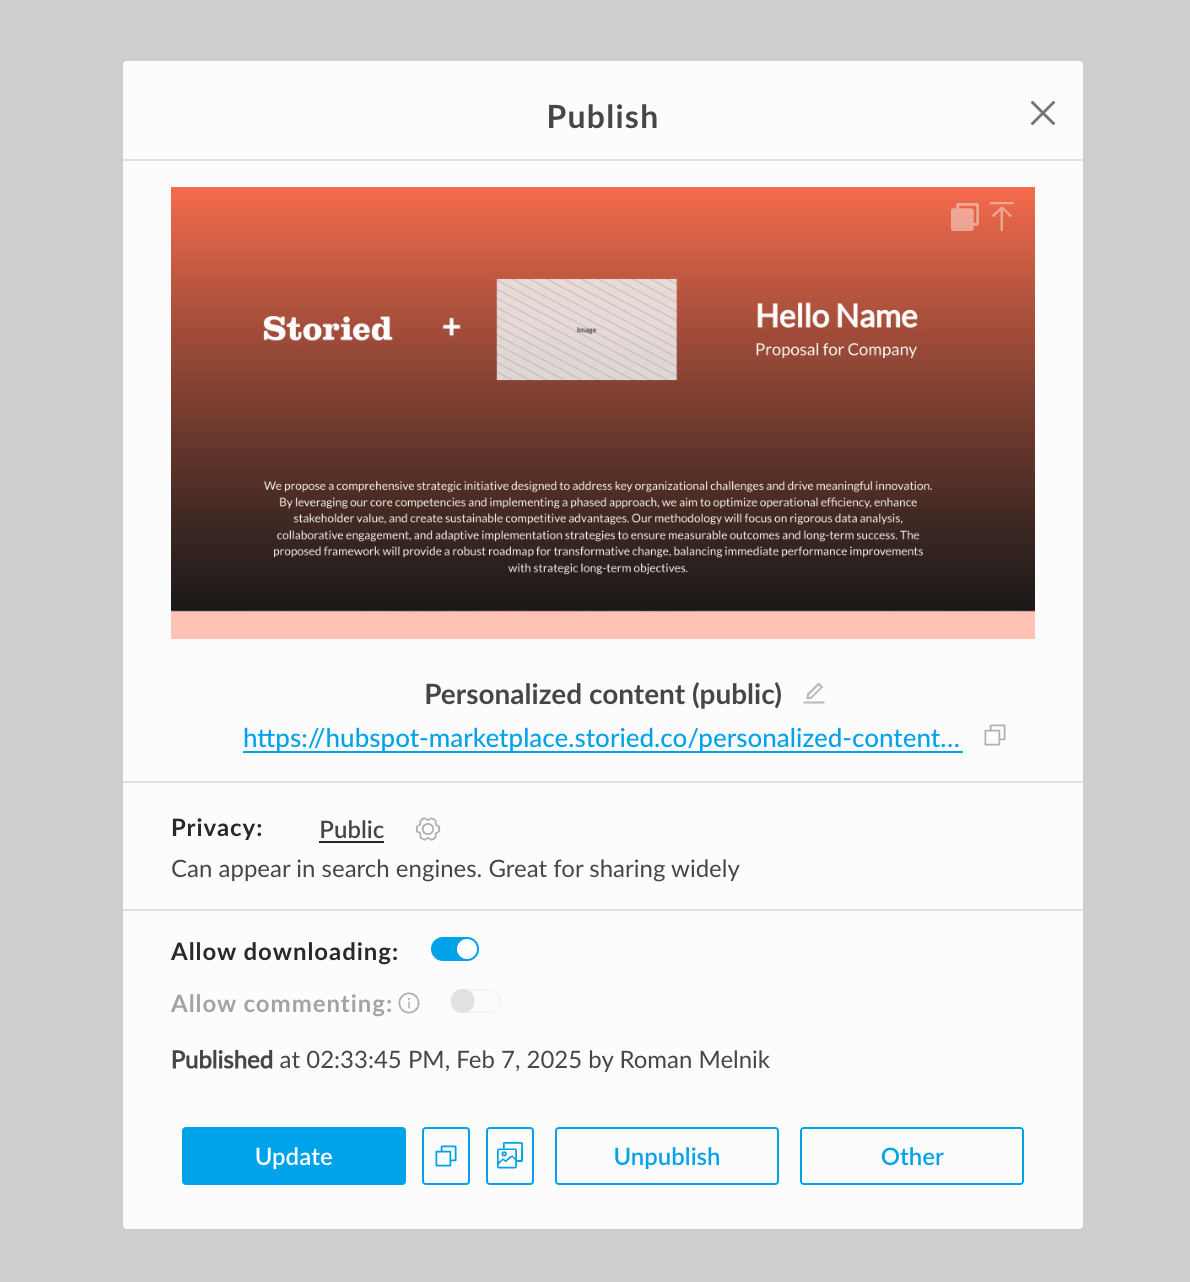
Use-case 2 - Storied Content (public)
-
Open Publish popup and publish Storied Content with Private privacy
- Copy the published URL
- Log into HubSpot > Marketing > Email
- Create a new email or select an existing email
-
Add a Button or Text to your HubSpot email
Add the copied URL (see item #2) as the link for the Button or Text
For example
https://demo.storied.co/personalized-content/?u=RecordID, wherehttps://demo.storied.co/personalized-content/is the published URL of Storied ContentRecordIDis HubSpot Contact Record ID
- Send this HubSpot email to your existing HubSpot Contact (or -s)
- Each HubSpot Contact will see personalized content

Disconnect:
Note: If you disconnect your HubSpot account from Storied Studio, Storied Cloud lead and account data will no longer sync to HubSpot contacts and companies (and vice versa). Existing data will remain on your HubSpot records.
- Log into Storied Cloud
- Navigate to Account Settings > Integrations
- Locate the HubSpot card
-
Click Disconnect

Uninstall:
To uninstall Storied Studio from your HubSpot account, follow the instructions in this HubSpot Knowledge Base article.